
Interactive Kilimanjaro Lemosho Route Map
Follow the trail from Londorossi Gate across the Shira Plateau to Lava Tower, Barranco Wall, Barafu Camp and Uhuru Peak. Use the interactive map to explore camps, altitudes, landmarks and the route’s western approach.
See Where the Lemosho Route Goes
The Kilimanjaro Lemosho Route map follows the trail from the quieter western side of the mountain to the summit. It shows the main camps, important altitude points, acclimatisation landmarks and the descent route to Mweka Gate.
The Lemosho trail first crosses rainforest and the Shira Plateau. It then joins the Southern Circuit near Lava Tower before continuing through Barranco, Karanga and Barafu. The final climb reaches Stella Point and follows the crater rim to Uhuru Peak.
This page focuses on the route’s geography. For daily hiking times, distances and camp-by-camp details, use our complete 8-day Lemosho Route itinerary.
Explore the Lemosho Route Interactive Map
Select a campsite, gate or landmark to explore the Kilimanjaro Lemosho Route map. View altitudes, trail stages, photographs and practical information from the western approach to Uhuru Peak.
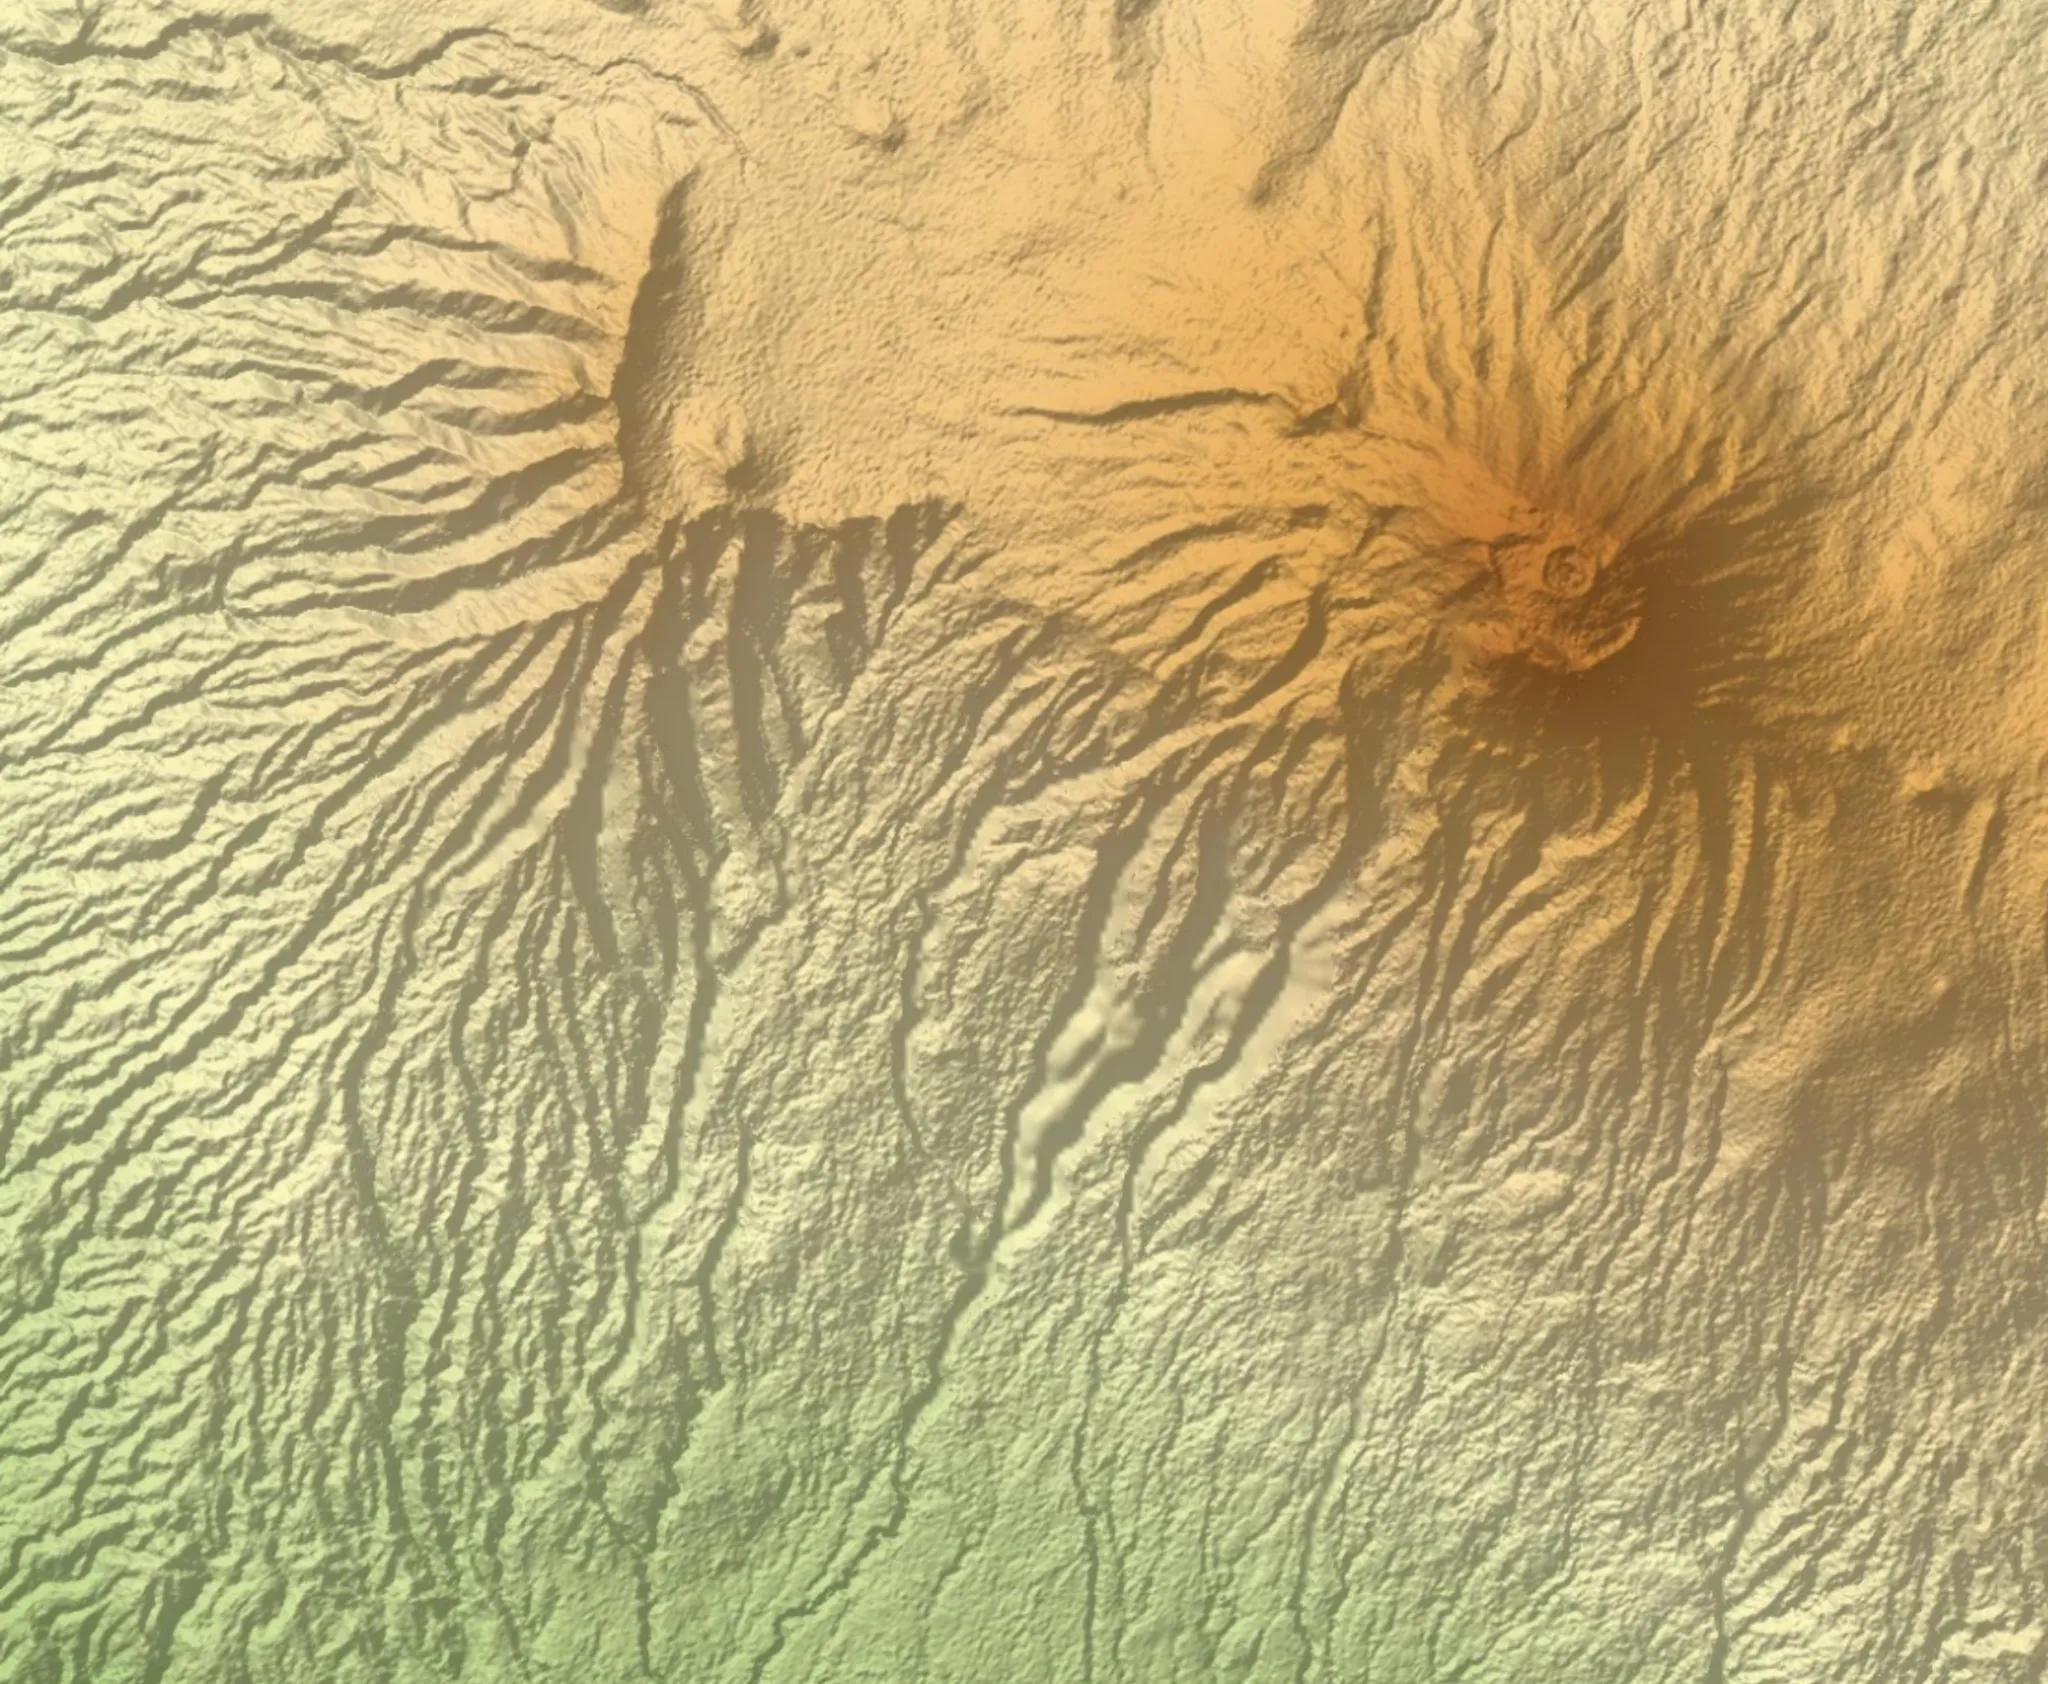
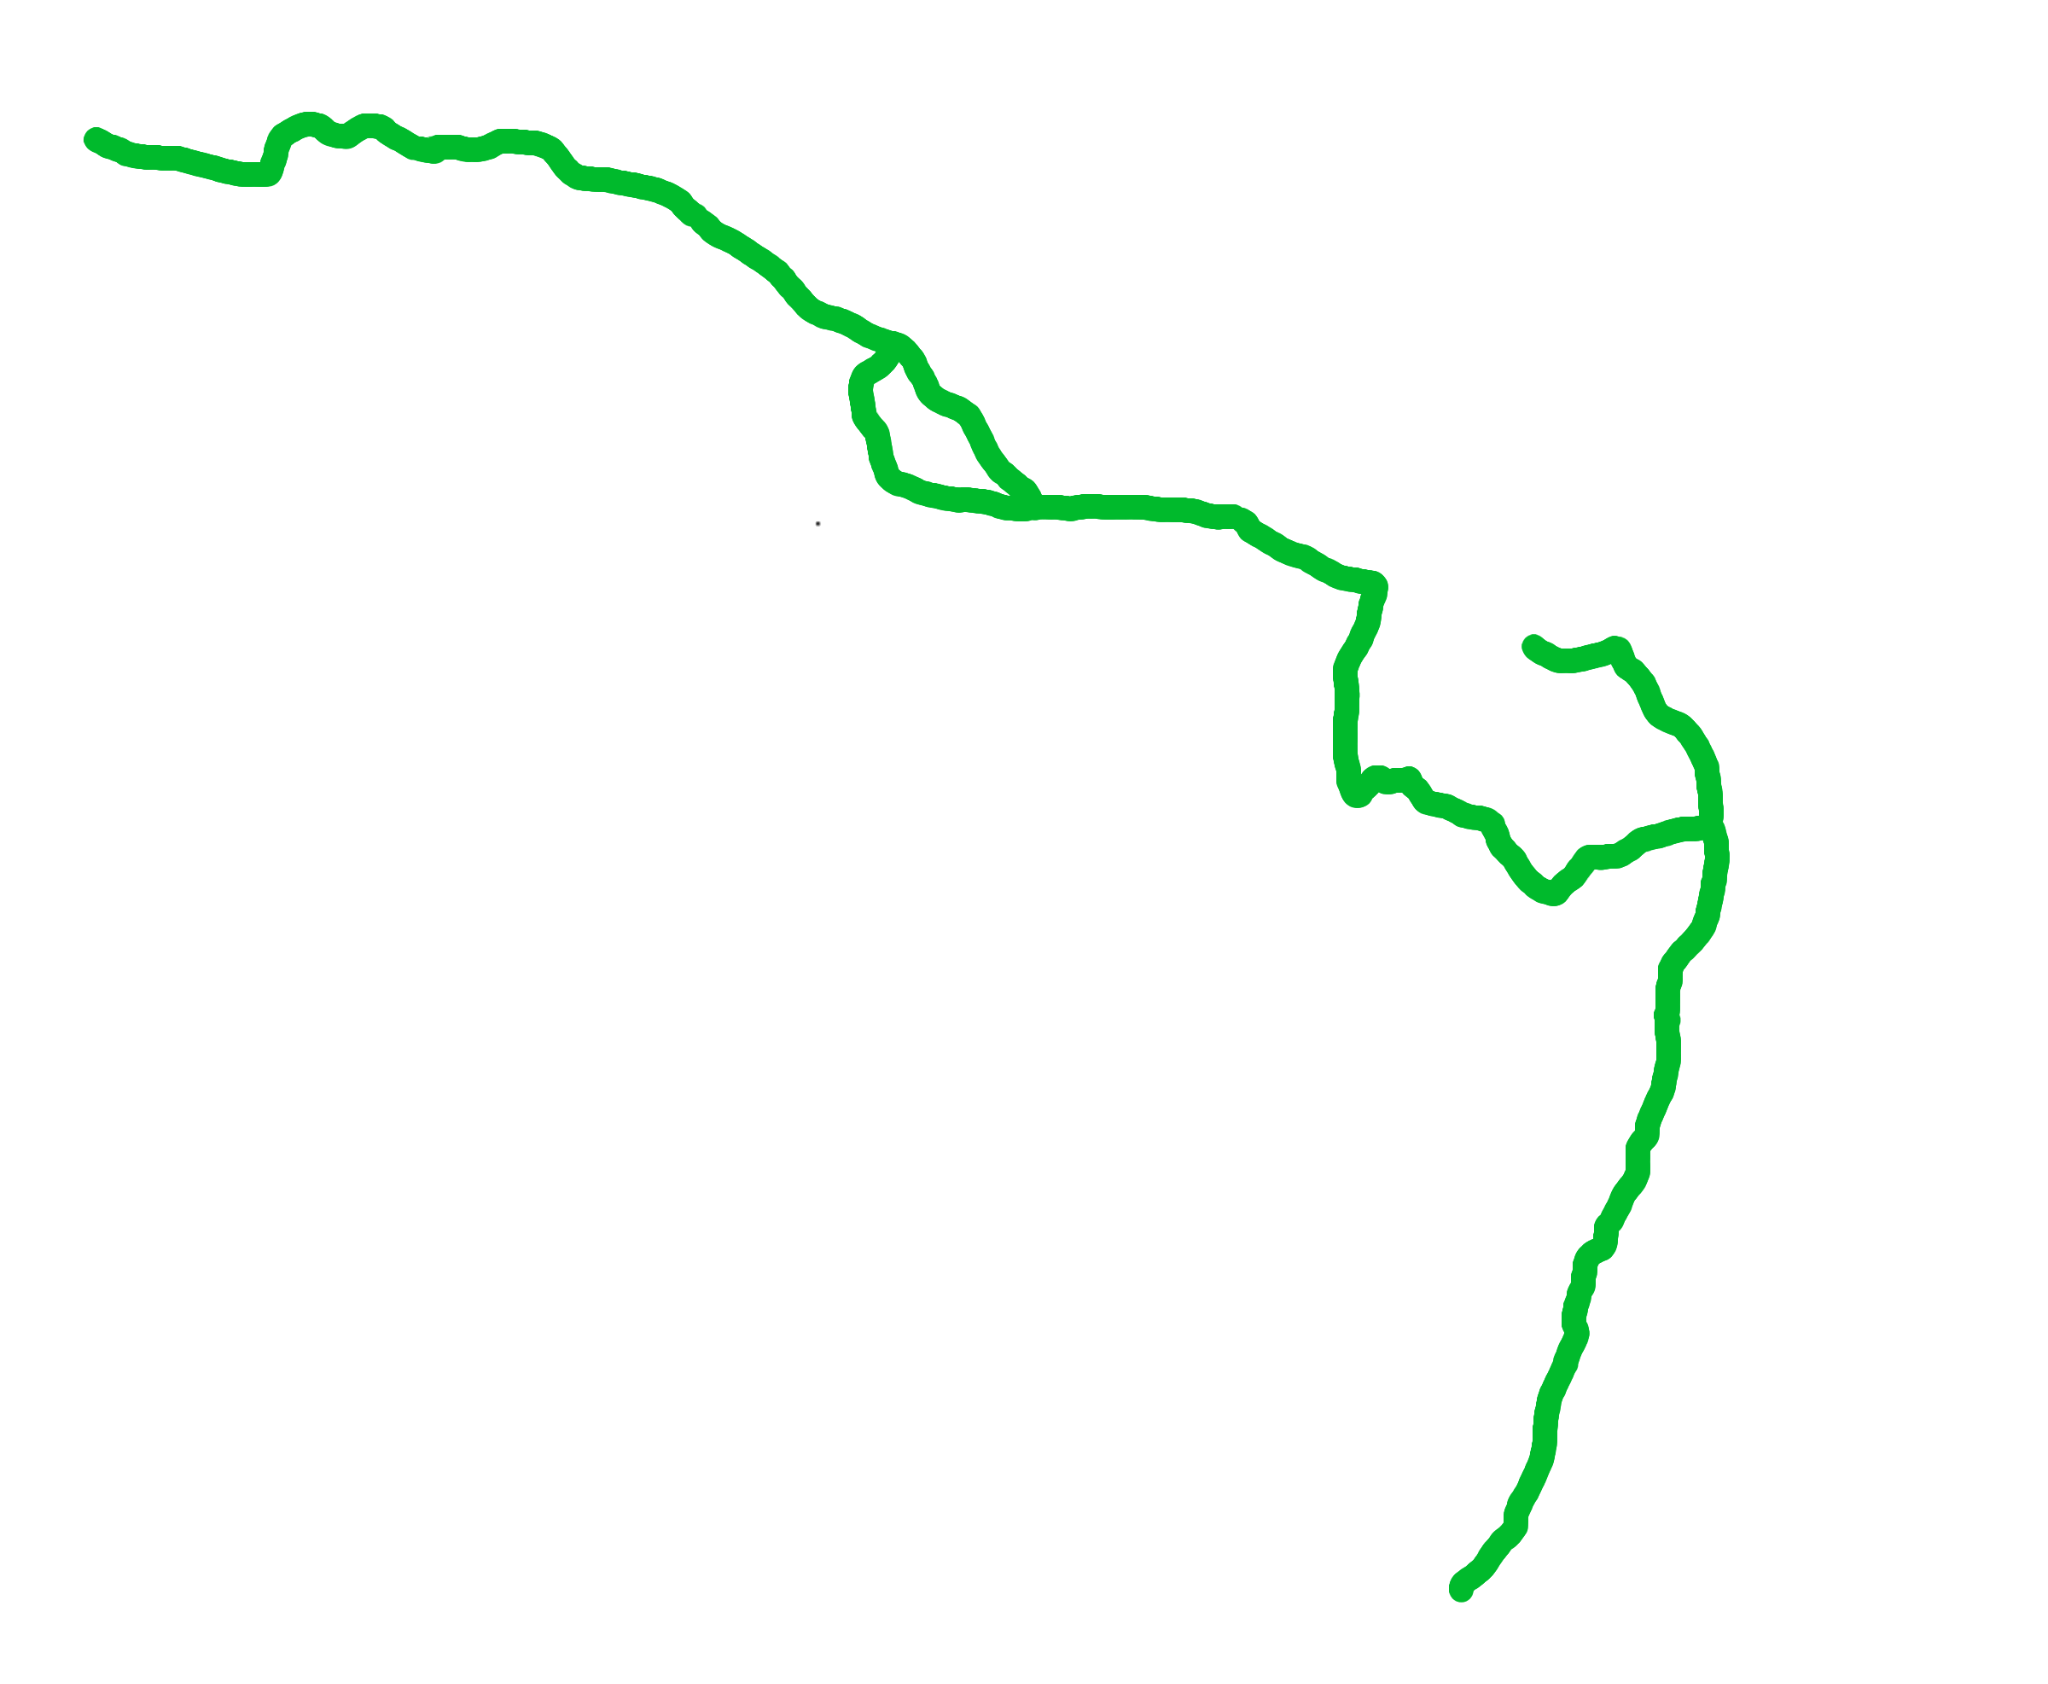
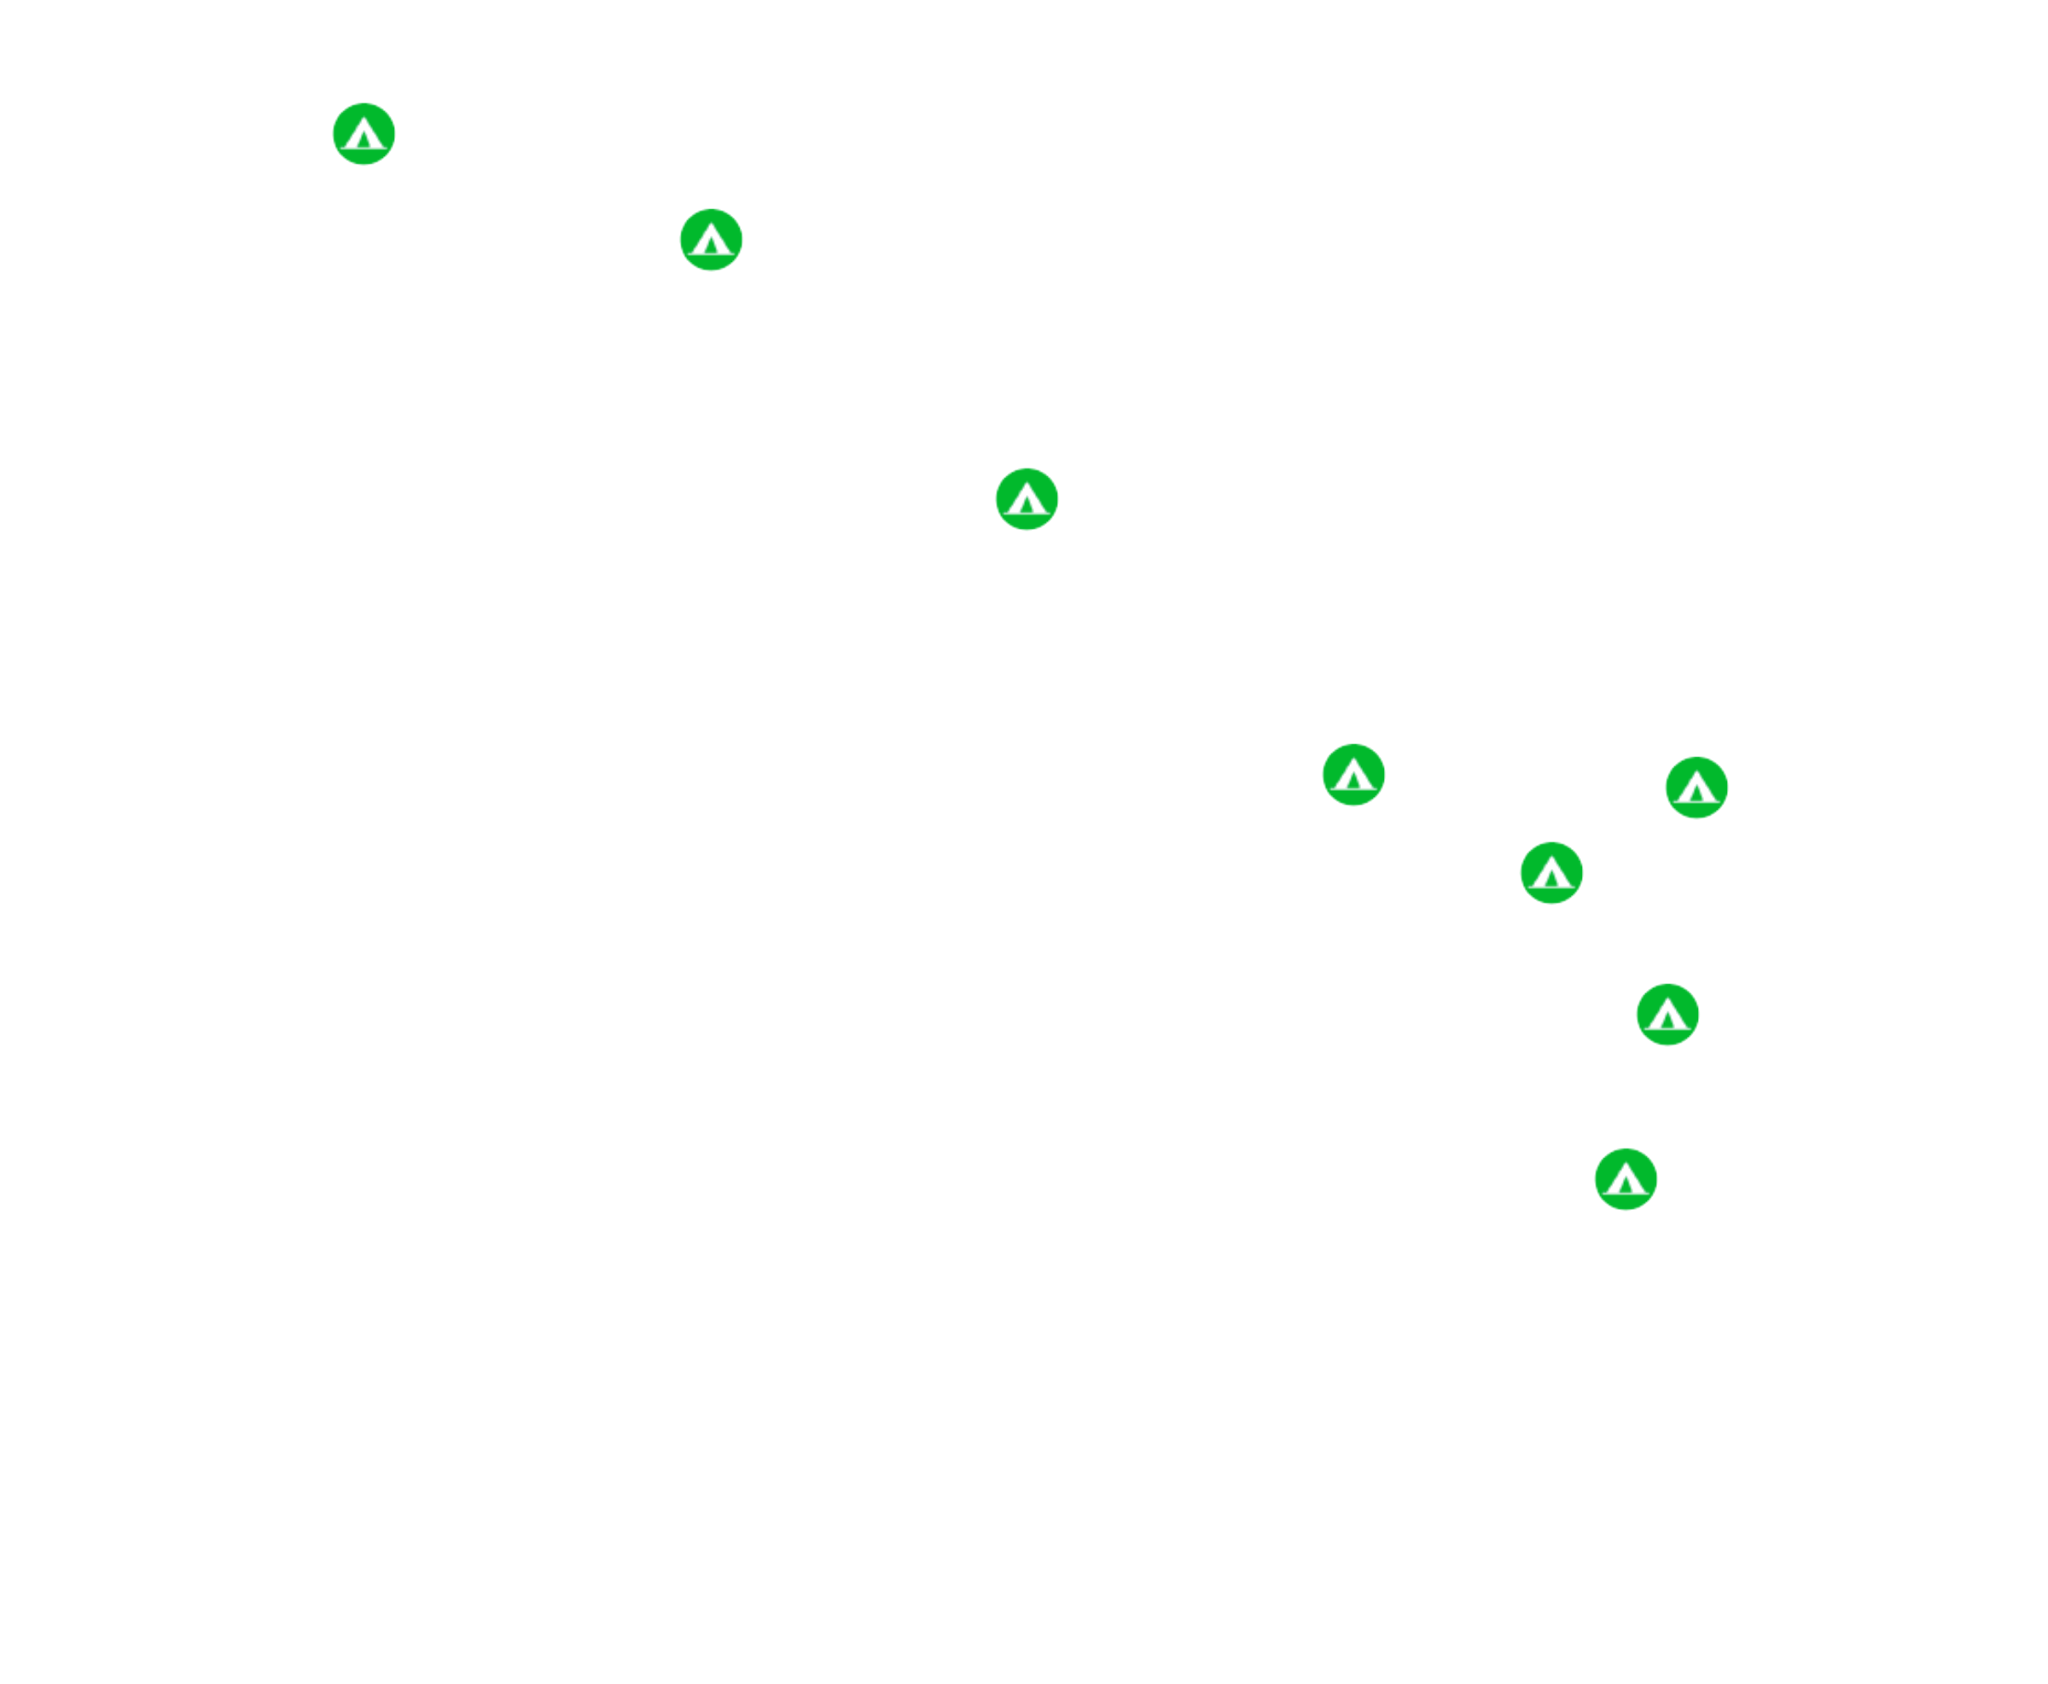
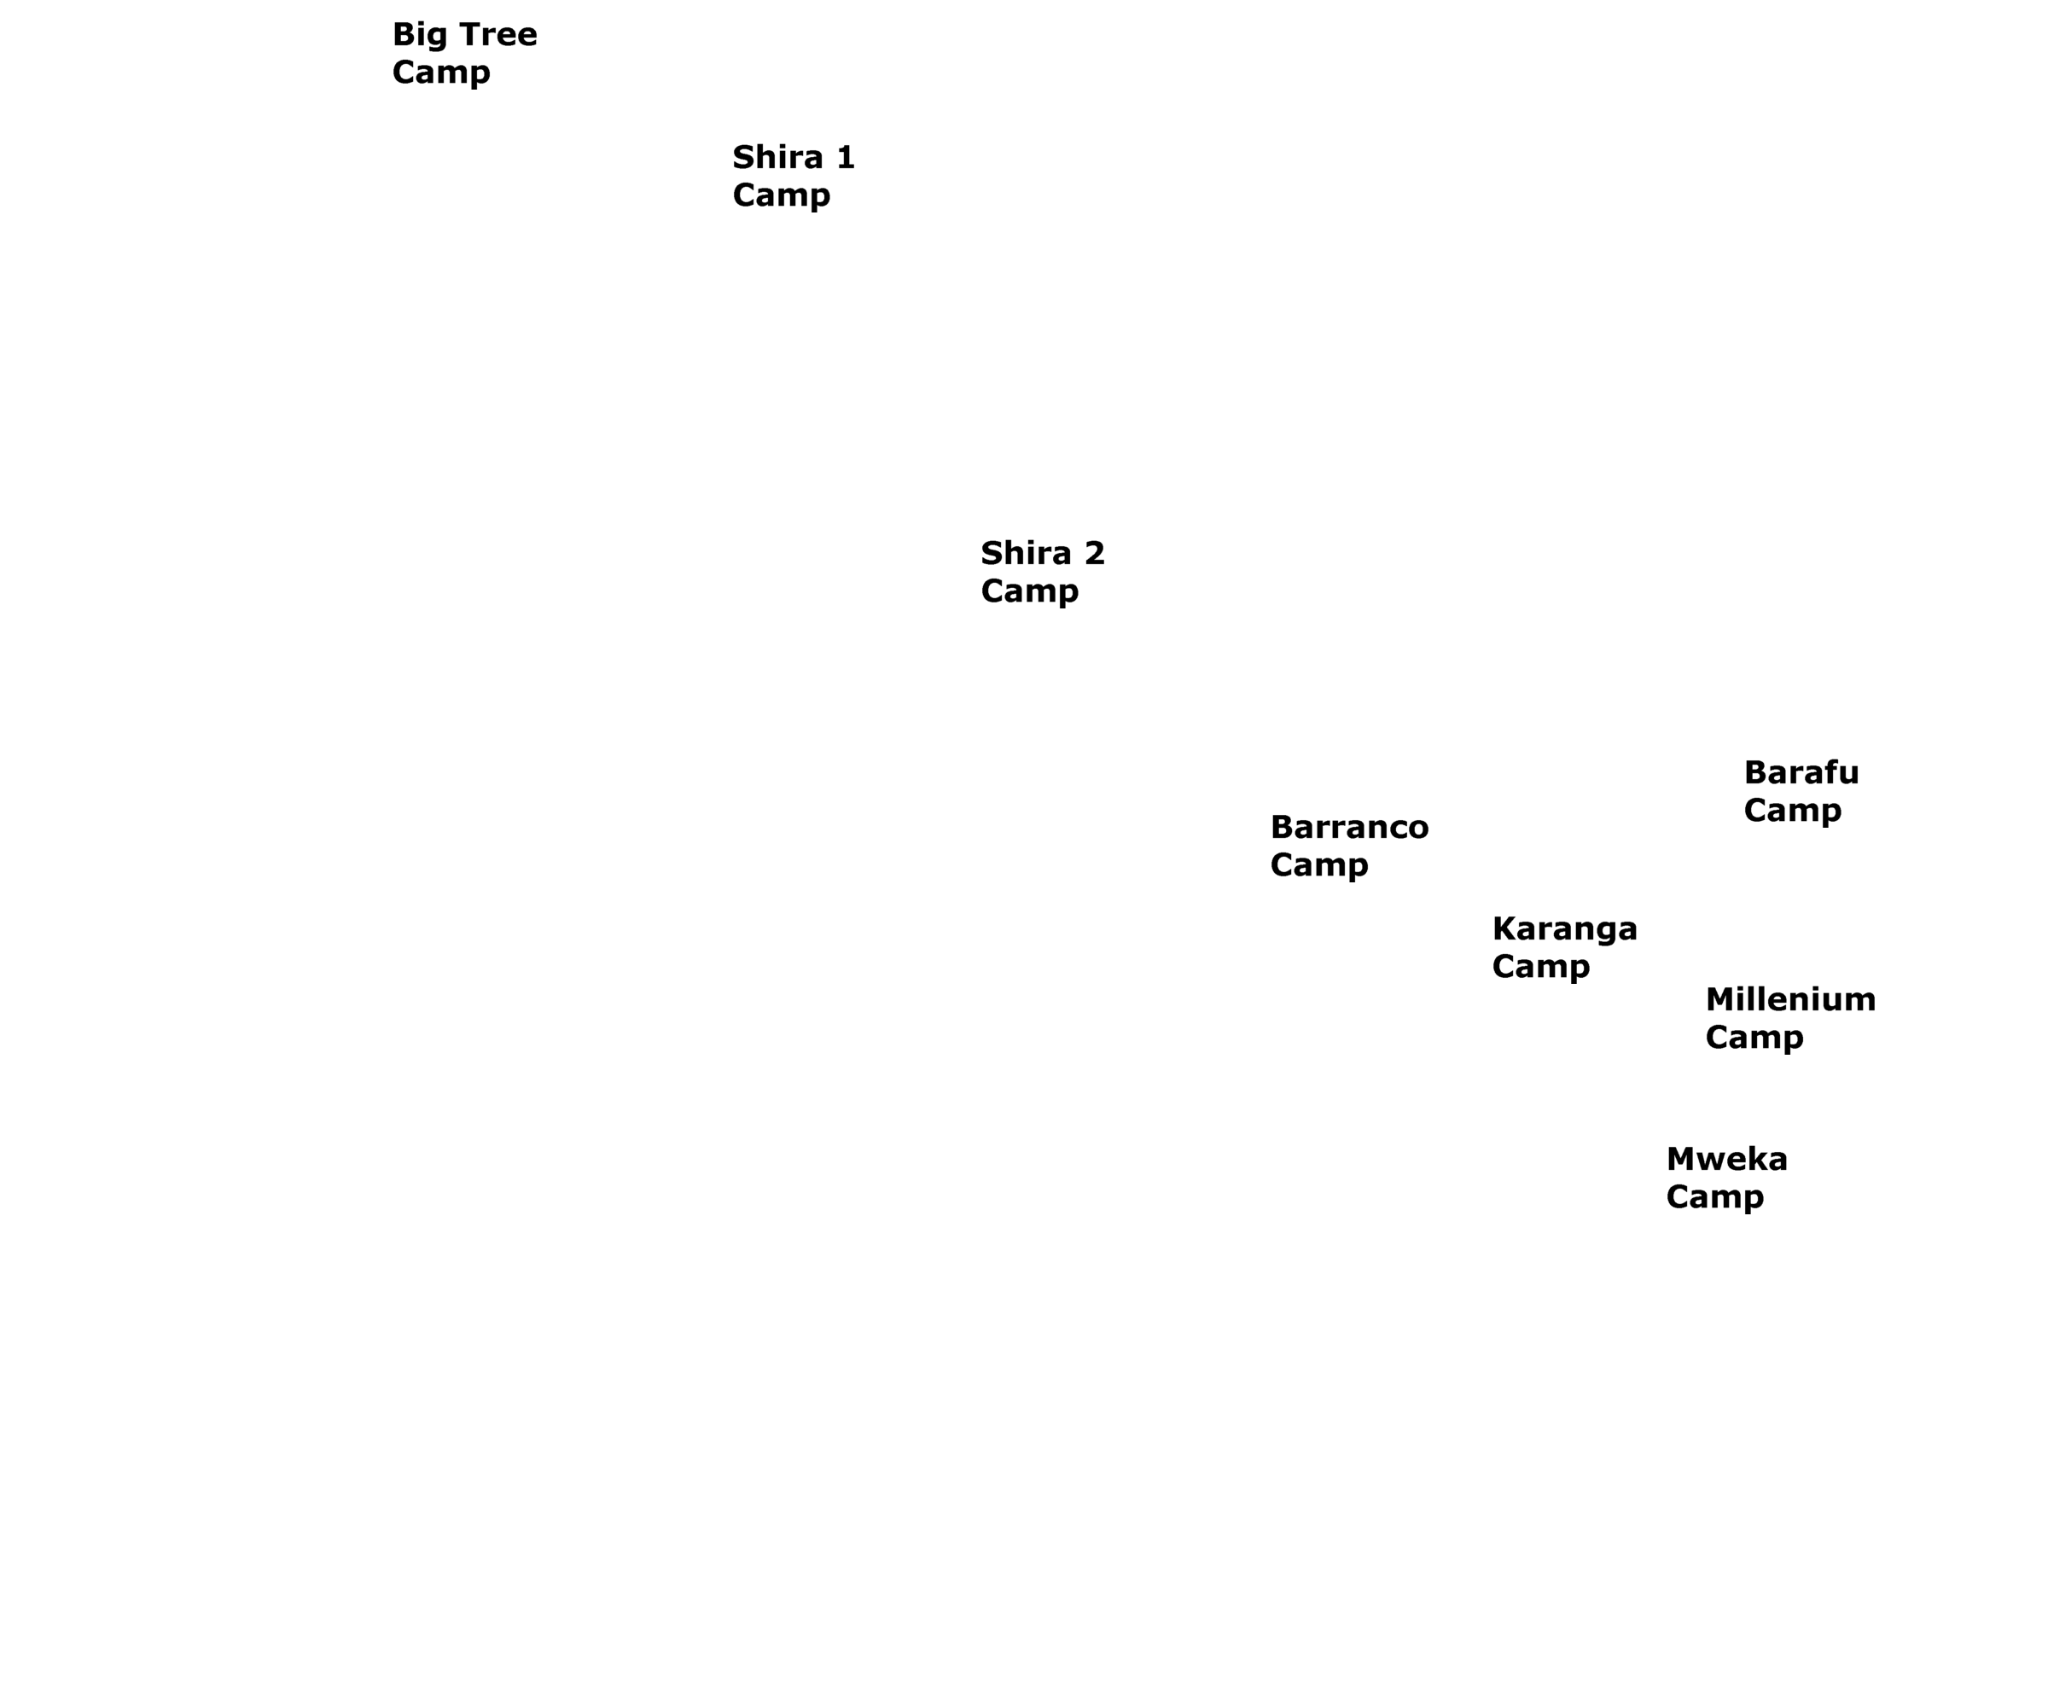




Route and campsite positions are provided for trip planning and general orientation. This map is not intended for independent mountain navigation.
How the Lemosho Trail Reaches the Summit
The route moves through four very different parts of the mountain before reaching Uhuru Peak and descending on the Mweka trail.
Rainforest
The trek begins near Londorossi Gate and enters montane forest before reaching Big Tree Camp. This is one of the quieter parts of the route.
Shira Plateau
The trail climbs onto the broad Shira Plateau. The recommended eight-day itinerary normally includes nights at Shira 1 and Shira 2.
Lava Tower to Karanga
Near Lava Tower, the trail joins the Machame Route and continues through Barranco and Karanga, supporting climb-high, sleep-low acclimatisation.
Barafu to Uhuru Peak
The summit climb passes Stella Point and follows the crater rim to Uhuru Peak. The descent continues through Mweka Camp to Mweka Gate.
Major Stops Shown on the Map
The interactive map includes the main camps and landmarks used on the Lemosho trail. Altitudes are approximate and can vary slightly according to map source, camp placement and GPS reading.
The route’s most important acclimatisation feature is the climb to Lava Tower at approximately 4,600 metres, followed by a descent to sleep lower at Barranco Camp.
For the complete day-by-day programme, read the 8-day itinerary. For prices and departures, visit the main Lemosho Route page.
Dense forest, damp trails and possible wildlife sightings during the opening stage.
Open terrain, giant heathers and broad views as the route crosses the ancient Shira cone.
Rocky, exposed terrain with large temperature changes and little vegetation.
Cold high-altitude conditions, scree, volcanic rock and views across the crater rim.
Lemosho Route Distance and Daily Stages
The Lemosho Route covers approximately 70 kilometres or 43 miles from the western approach to Uhuru Peak and down to Mweka Gate. Exact measurements vary slightly according to the itinerary, campsite position and GPS source.
The eight-day itinerary divides the opening climb across the Shira Plateau into more manageable stages. This creates a steadier early ascent and gives hikers additional time to adjust to altitude.
Kilimanjaro Lemosho Route Map FAQ
Answers about the route’s start, finish, distance, camps, map use and recommended duration.
Ready to Climb the Lemosho Route?
Choose an eight-day scheduled departure or request a private Kilimanjaro climb planned around your preferred dates.